The Daily Bourbon is reader-supported: we may earn a commission from qualifying purchases made through links on this page, at no extra cost to you.
A good home bar isn’t about owning fifty gadgets or turning a whole room into a saloon. It’s about having the right spot, the right handful of tools, and ice that doesn’t water down a good pour. Get those three things right and you’re 90% of the way there — whether your “bar” is a corner of the living room, a cart by the couch, or a cabinet you finally cleaned out.
Quick answer
Start with a sturdy bar cart or a small cabinet you already own. Add one solid bar tool set (jigger, shaker, strainer, bar spoon), a set of proper whiskey glasses, and a large ice mold. Finish with decent lighting and a couple of coasters. That’s the whole starter bar — everything else is upgrades you’ll figure out as you go. The five picks in this guide cover each piece, in the order you’ll set them up.
Step 1: Pick your spot and your cart
Before you buy a single tool, decide where the bar lives. A home bar works best somewhere people already gather — the living room, the dining room, or out on a covered porch if your climate (and your furniture) allows it. You want it close enough to the action that you’re not hiking to the kitchen for every pour, but out of the main traffic path so nobody’s bumping elbows with your glassware.
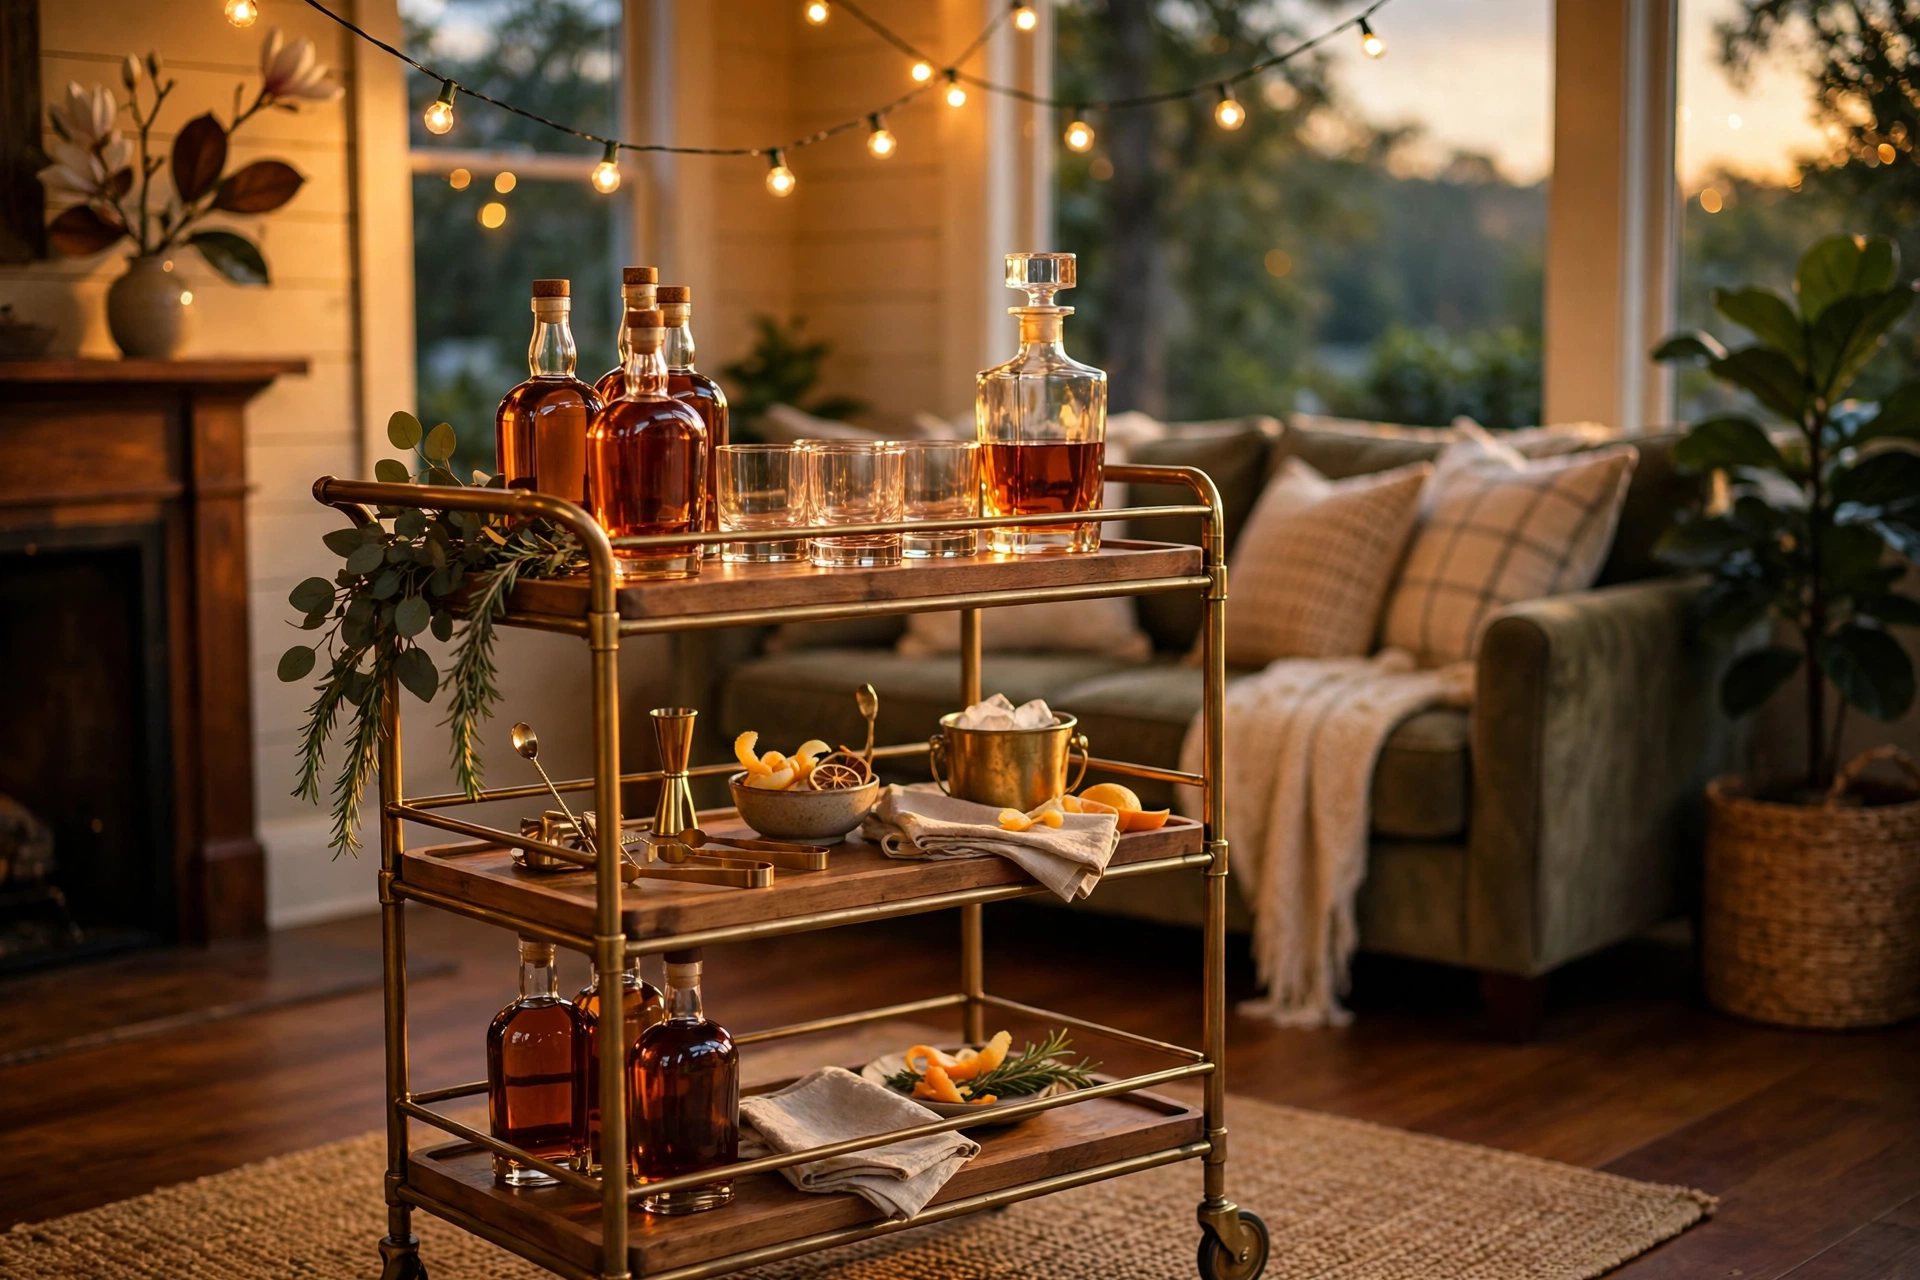
Most folks don’t need a built-in bar. A rolling bar cart does the job beautifully: top shelf for the bottles and glasses you’re using tonight, bottom shelf for backup tools, towels, and extras. Look for one with raised edges or rails so bottles don’t slide off when you roll it, and wheels that lock if it’ll sit on hardwood. A cabinet with doors is the other great option — it hides everything when company’s not over and keeps dust off your glassware.
Our pick: a three-tier rolling bar cart with a wine/bottle rack. It holds a full starter setup, moves where the party is, and looks sharp doing it.
→ Click here to check price on Amazon
Step 2: Get the essential tools (one set covers it)
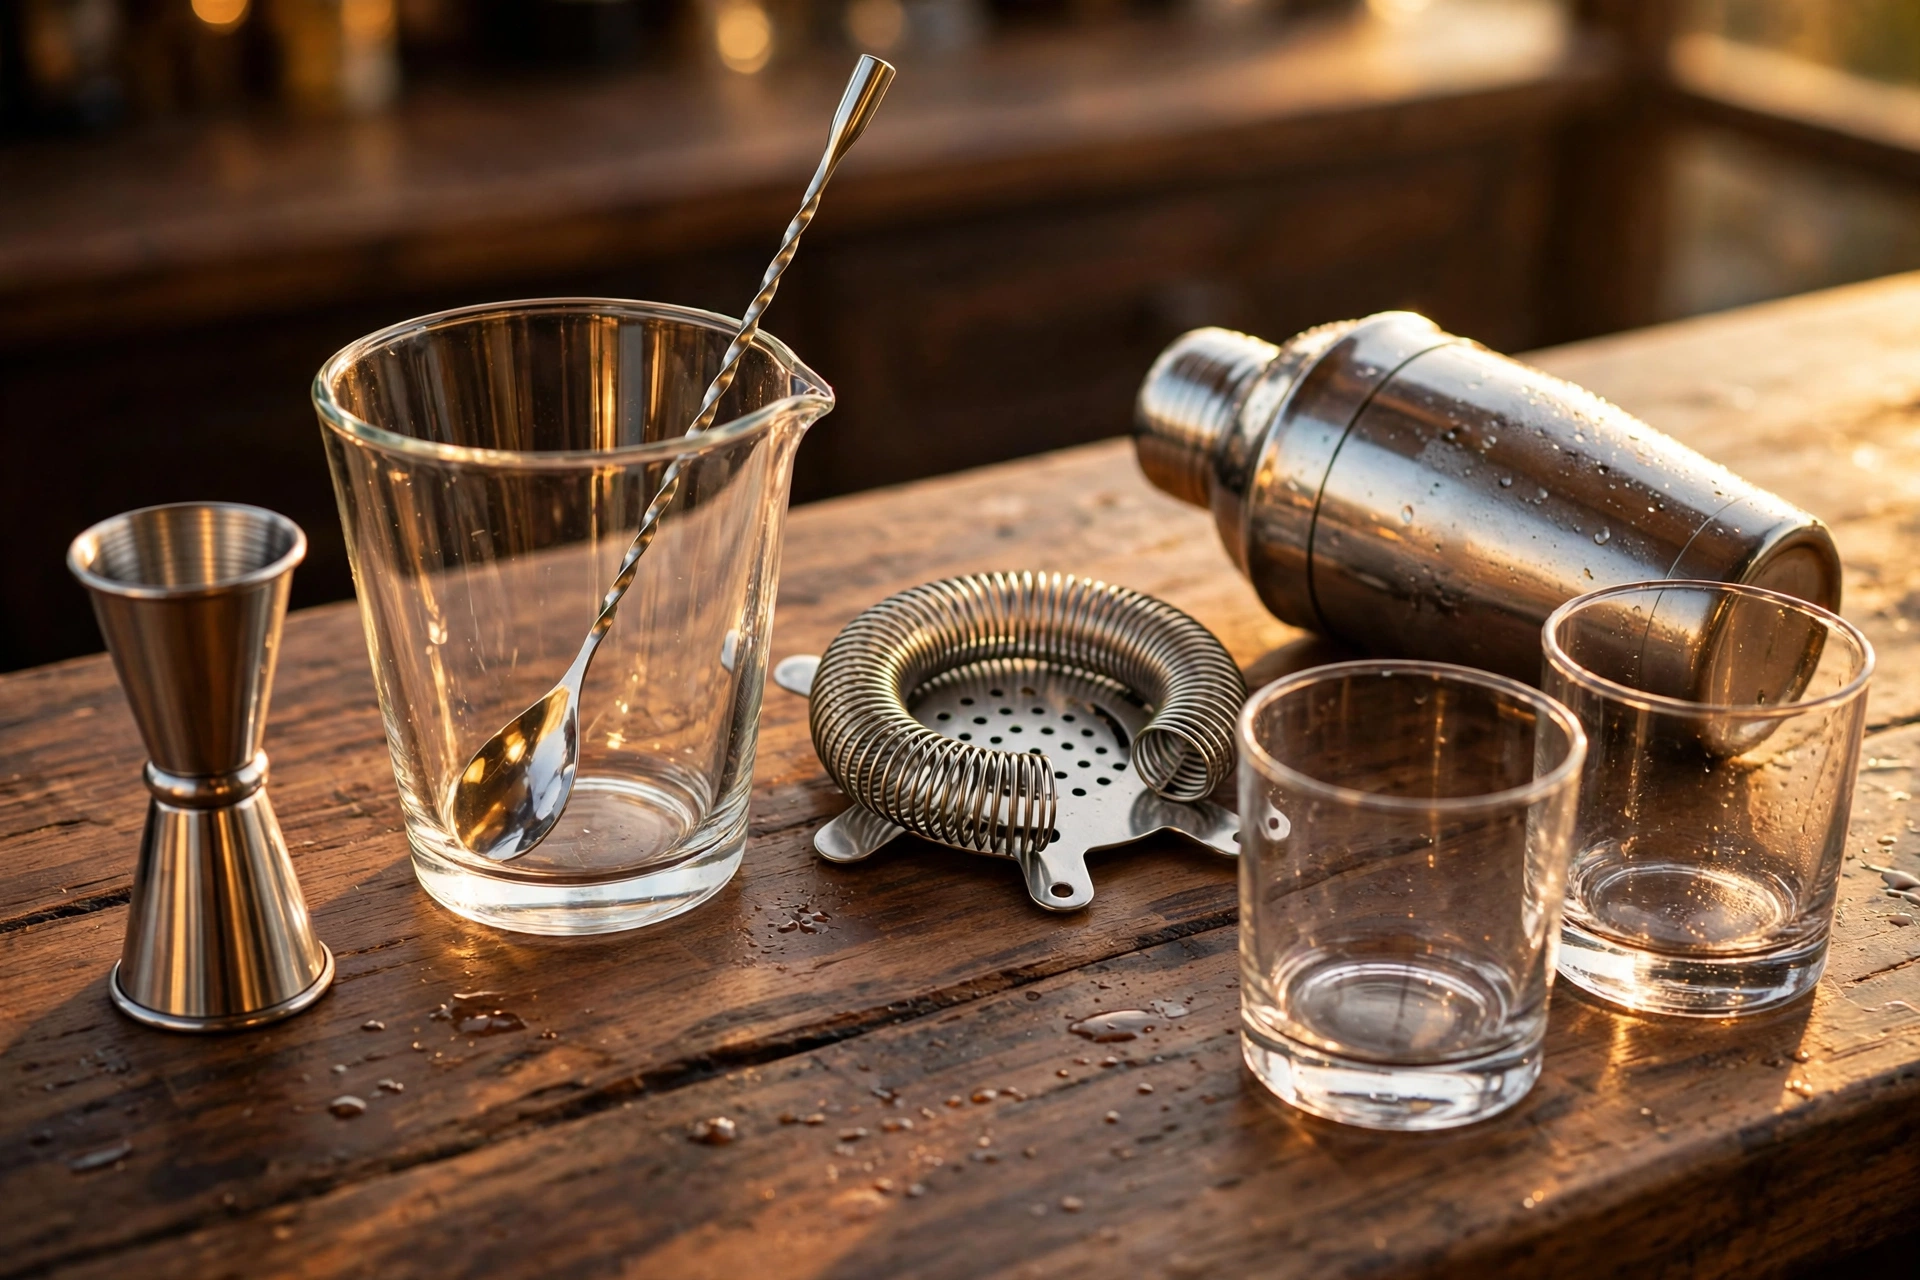
Here’s the honest truth about bar tools: you need fewer than the internet says. For a bourbon-focused home bar, the essentials are a jigger (for measuring — yes, even for a simple pour, because consistency is how you repeat a drink you loved), a mixing glass and long bar spoon for stirred drinks, a Hawthorne strainer, and a cobbler or Boston shaker for the days somebody asks for something shaken. A small paring knife and a vegetable peeler for garnishes round it out, and you probably own those already.
Buying a matched set is the smart starter move. One box gets you consistent sizes, matching finishes, and usually a stand that keeps everything corralled on the cart instead of rattling around in a kitchen drawer. Stainless steel is the way to go — it doesn’t hold flavors, it survives the dishwasher, and it looks right next to a good bottle.
Our pick: a stainless steel bar tool set with stand. Jigger, shaker, strainer, mixing spoon, and pourers in one tidy package.
→ Click here to check price on Amazon
Step 3: Glassware — the glass actually matters
Drinking bourbon out of a coffee mug works, technically. But the glass shapes the whole experience: a wide bowl lets you swirl and nose the pour, a heavy base feels right in the hand, and a thin rim doesn’t get in the way. For most home bars, start with a set of classic rocks glasses for everyday pours over ice, then add a set of tulip-shaped tasting glasses for neat pours when you want to really pay attention to what’s in the glass.
You don’t need a different glass for every occasion. Two styles, four to six of each, and you’re set for years. If you want the full rundown on shapes — rocks, tulip, and the famous Glencairn style — we break it all down in our guide to the best whiskey glasses for bourbon.
Our pick: a set of heavy-base rocks glasses. Thick, steady, dishwasher-friendly, and they make a two-finger pour look like it means business.
→ Click here to check price on Amazon
Step 4: Big ice is not a gimmick
If you take one upgrade seriously, make it this one. Regular freezer cubes are mostly air and surface area — they melt fast and turn the last half of your drink into bourbon-flavored water. One big cube or sphere melts noticeably slower, chills just as well, and honestly just looks great doing slow circles in the glass.
Silicone molds are the cheap, easy way in: fill, freeze, pop out a two-inch cube or a round sphere. Stack two trays if you entertain much, because big ice disappears fast once guests see it. We compare cubes, spheres, and clear-ice makers in detail in our guide to big ice for bourbon — but for a starter bar, one good mold set is plenty.
Our pick: a large ice cube and sphere mold combo set. Two molds, endless slow-melting ice, zero fuss.
→ Click here to check price on Amazon
Step 5: Lighting and the finishing touches
This is the step people skip, and it’s the one that turns “a cart with bottles on it” into a bar people drift toward. Warm, low lighting does the heavy lifting. A small LED strip behind the bottles or a lighted display shelf makes labels glow and gives the whole setup a finished, saloon-at-dusk feel without any wiring projects.
Beyond lighting, the finishing touches are small and cheap: a stack of real coasters (your furniture will thank you), a bar towel that lives on the cart, a small tray to corral the tools, and a trash plan for garnish scraps that doesn’t involve your good rug. Pick one lighted element and build from there.
Our pick: an LED lighted bottle display shelf. Set your best bottles on it, pick a warm color, and watch the whole bar come alive.
→ Click here to check price on Amazon
The starter checklist
- ☐ A spot where people gather, out of the traffic path
- ☐ Bar cart or cabinet with room for bottles, glasses, and tools
- ☐ One stainless bar tool set (jigger, shaker, strainer, spoon)
- ☐ Rocks glasses, plus tasting glasses for neat pours
- ☐ One large ice mold set — cubes or spheres
- ☐ Warm lighting or one lighted display element
- ☐ Coasters, a bar towel, and a small tray
FAQ
How much space do I really need? About two feet of cart or counter space. If you can fit a rolling cart, you can fit a home bar.
Cart or cabinet — which is better? A cart if you entertain in different rooms or on the porch; a cabinet if you’d rather close the doors and hide it all. Both beat a permanent built-in for most homes.
What’s the first upgrade after the starter setup? A second ice mold and better tasting glasses. Ice runs out first, and the glasses are what you touch every single pour.
Do I need a shaker if I mostly drink bourbon neat or on the rocks? Not on day one — but the tool set includes one anyway, and the first time a guest asks for something shaken, you’ll be glad it’s there.
That’s the whole build: a good spot, honest tools, the right glass, slow ice, and a little warm light. Set it up once, and every pour after that feels like an occasion. Cheers, y’all.
Leave a Reply